

Chapter objective: Attachments work at the point where the machine meets the material, so they experience impact, abrasion, contamination, bending, vibration and hydraulic impulse. Small defects can progress quickly. A loose pin becomes an elongated bore; a leaking coupler introduces contamination; a worn tooth increases fuel use; a cracked weld becomes a structural failure. Planned maintenance protects operators, improves performance and reduces unexpected...
Maintenance protects safety and production
Attachments work at the point where the machine meets the material, so they experience impact, abrasion, contamination, bending, vibration and hydraulic impulse. Small defects can progress quickly. A loose pin becomes an elongated bore; a leaking coupler introduces contamination; a worn tooth increases fuel use; a cracked weld becomes a structural failure. Planned maintenance protects operators, improves performance and reduces unexpected downtime.
The maintenance programme should combine daily operator checks, scheduled lubrication, measurement of wear, hydraulic care, fastener inspection, cleaning, storage and documented repair. Follow the attachment manufacturer schedule and adjust for severe conditions such as demolition, salt, dust, mud, extreme temperature or continuous hydraulic duty.
Daily pre-use inspection
Walk around the attachment before connection or operation. Confirm identification and compatibility. Inspect the mounting plate, pins, hooks, latches and retaining devices. Look for cracks, deformation, missing hardware, loose bolts, leaks, damaged hoses, exposed reinforcement, worn cutting edges, missing teeth and accumulated debris. Check guards, labels and electrical cables.
Move the attachment through its functions at low speed. Listen for unusual noise and watch for uneven movement. Check that locks and indicators remain correct. Any defect affecting retention, structure, hydraulics or control should remove the attachment from service until evaluated. A daily inspection should be brief but disciplined, with findings recorded when the fleet system requires it.
Lubrication
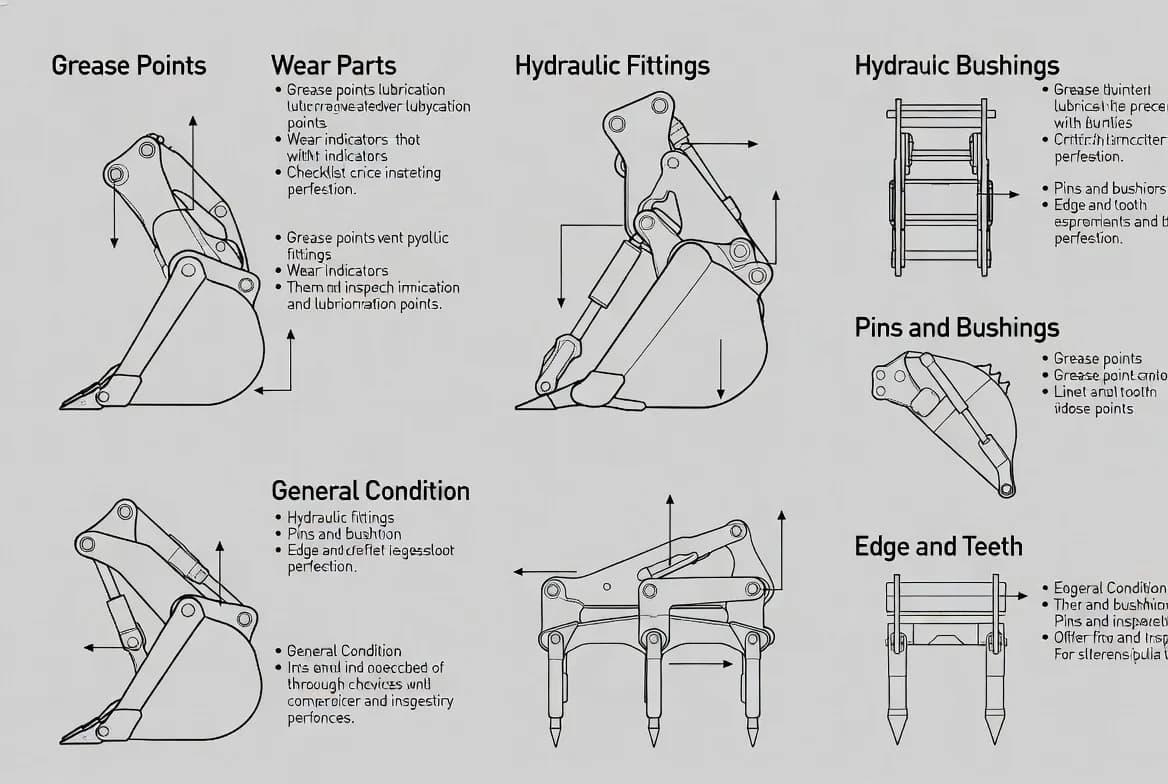
Pins, bushes, pivots, rotators and tool shanks depend on correct lubrication. Use the specified grease, amount and interval. More grease is not always better; excessive grease can attract abrasive material, damage seals or hide inspection areas. Clean fittings before connection to prevent contamination. Replace blocked or damaged fittings.
Grease with the attachment positioned as instructed so the lubricant reaches the loaded surfaces. Breaker tools may require special high-temperature paste and frequent application. Automatic systems must be checked for level, line damage and actual delivery. Record unusually high grease consumption because it may indicate worn bushes or failed seals.
Hydraulic-system care
Keep couplers clean and capped. Wipe connection faces before coupling. Inspect hoses for abrasion, blistering, cracks, leakage, crushed sections and incorrect routing. Check fittings and swivels. Replace hoses based on condition and service-life policy, not only after failure. Use correctly rated components.
Monitor attachment cylinders and motors for leakage, drift, overheating and abnormal noise. Confirm case-drain and return lines remain connected. Hydraulic contamination from one attachment can damage every machine it is connected to, so investigate metal debris or dirty oil immediately. After a major component failure, follow the approved flushing and filtration procedure.
Wear parts and cutting systems
Teeth, edges, blades, points, tines, wear strips and liners are designed to be replaced. Running them beyond limits can damage the expensive base structure. Establish visual or measured replacement criteria. Keep the correct parts and retainers in stock. Replace missing teeth promptly and check that the lost component has not entered processed material.
Uneven wear can indicate misalignment, poor technique, bent structure or incorrect attachment selection. Record wear life by material and application. This information supports better purchasing and allows replacement to be scheduled during planned downtime.
Pins, bushes and joints
Clearance at pins and bushes reduces control and creates impact loading. Clean and grease joints, then inspect for side movement, noise and elongated bores. Measure at scheduled intervals. Replace bushes before the parent bore is damaged. Use approved pins with correct hardness and retention.
Do not operate with makeshift pins, missing retainers or welded-on stops. If a joint has seized, identify corrosion, lack of lubrication or deformation. Forced movement can crack brackets. Repairs should restore alignment and geometry, not simply make the pin fit.
Fasteners, welds and structure
Check bolts, tie rods, mounting screws and retaining hardware at the specified interval and torque. Repeated loosening may indicate movement, damaged threads or an incorrect joint. Do not repeatedly tighten a failing connection without finding the cause.
Inspect high-stress welds around mounting ears, cylinder lugs, jaw pivots, bucket corners and breaker housings. Clean the area before inspection. Rust lines, paint cracking and polished edges may reveal movement. Structural repairs require qualified procedures, suitable materials and post-repair inspection. Unapproved welding can reduce fatigue life.
Cleaning and storage
Cleaning allows inspection and prevents compacted material from blocking locks or retaining moisture. Remove soil, concrete, asphalt, crop residue and corrosive contamination using a method that does not drive water into bearings or electrical connectors. Protect hydraulic couplers immediately.
Store attachments on stable supports in a position that prevents tipping and allows safe connection. Retract exposed cylinder rods where practical. Protect cutting edges and sharp tools. Drain water where required and prepare for freezing conditions. Long-term storage may require corrosion protection, periodic rotation or pressure relief according to the manual.
Maintenance records and condition-based planning
Record inspections, defects, repairs, lubrication, parts replacement, hydraulic tests and compatibility changes. Include hours or cycles where available. Photographs help track crack growth, wear and hose routing. A good record supports warranty claims, resale value and consistent decisions across sites.
Use trends to plan maintenance. Shortening tooth life may indicate a material change. Rising hose failures may reveal routing problems. Increasing pin clearance can be scheduled before a major rebuild. Condition-based information turns maintenance from reactive repair into asset management.
Safe isolation and repair
Before maintenance, lower the attachment, shut down, relieve stored hydraulic pressure and isolate energy according to the carrier and attachment procedures. Support raised components with approved devices. Never rely on cylinders or suspended loads. Wear appropriate protective equipment and treat hydraulic leaks as injection hazards.
After repair, inspect tools and parts, confirm guards and retainers, reconnect carefully and test at low speed in a controlled area. Check for leaks without using hands. Verify mounting and safety locks. Update the record and communicate any operating restriction to the next user.
Key takeaways
Effective attachment maintenance combines daily inspection, correct lubrication, clean hydraulics, measured wear control, structural inspection, safe storage and complete records. Replace wear parts before the base structure is damaged. Investigate recurring defects rather than repeatedly treating symptoms. Isolate energy and support components before repair. Manufacturer maintenance intervals and rejection limits remain the authority.
Building a preventive-maintenance schedule
Create a schedule from manufacturer intervals, operating hours, cycles and site severity. Separate daily, weekly, monthly and annual tasks. Identify safety-critical inspections that cannot be deferred. Continuous hydraulic attachments may need shorter hose, filter and oil checks. Demolition tools may need frequent structural inspection. Review the schedule after failures and adjust it using actual wear data. A generic machine-service interval is not always sufficient for the attachment.
Critical spares and planned downtime
Keep high-use wear parts, retainers, hose assemblies, seals and approved fasteners available. The correct spare prevents improvised repairs and long downtime. Plan replacement of teeth, edges, bushes and breaker tools before they reach failure limits. Coordinate attachment maintenance with carrier service and low-production periods. Label quarantined components so they cannot be reinstalled accidentally.
Contamination control between machines
Shared attachments can transfer dirt and hydraulic contamination across a fleet. Use clean caps, dedicated storage and a connection-cleaning standard. If an attachment returns from another site or rental, inspect oil, couplers and hoses before connecting. Where a major hydraulic failure occurred, quarantine the attachment until flushing and cleanliness verification are complete. Record the event so other machines that used the attachment can be assessed.
Seasonal and long-term storage
Before storage, clean the attachment, repair exposed metal, lubricate, protect rods and cap ports. Drain trapped water and prepare for freezing temperatures. Store on stable supports under cover where possible. Periodically inspect for corrosion, rod pitting, pest damage and pressure loss. Before return to service, complete the full pre-use inspection and low-speed function test rather than assuming the stored condition is unchanged.
Failure analysis
When a component fails, identify the underlying cause. A cracked ear may result from side loading, excessive clearance, incompatible geometry or poor repair. Repeated hose failure may come from routing rather than hose quality. A failed motor may reflect a blocked case drain or contamination. Preserve parts and records, inspect related components and implement corrective action across similar attachments. Replacing the broken part without understanding the cause invites repetition.
Training and ownership
Assign clear responsibility for inspection, defect reporting, lubrication and repair approval. Operators should know the normal condition and shutdown signs. Maintenance personnel need access to manuals, service limits and compatible parts. Supervisors should ensure defects are tracked to closure. A strong programme makes it easy to report a problem and difficult to return an unsafe attachment to service without documented approval.
Inspection after abnormal events
An attachment should receive an immediate inspection after a collision, overload, dropped load, hose burst, fire, rollover or other abnormal event. Damage may not be obvious. Check geometry, welds, pins, locks, cylinders, hoses and controls, and involve a qualified inspector where required. Do not return the attachment to service solely because it still moves. Record the event and the basis for release.
Managing modifications and repairs
Any modification can change weight, load path, clearance or hydraulic demand. Added plates, changed brackets, welded lifting points and replacement motors must be technically reviewed and documented. Update identification, weight and compatibility information. Use approved repair procedures and qualified personnel. After modification, conduct a controlled function and load check within the permitted method before normal work.
Housekeeping and safe access
Maintenance areas should provide stable support, lighting, spill control and room to work without entering crush zones. Keep tools, hoses and removed parts organised. Clean grease from steps and handholds. Dispose of oil, filters and contaminated absorbents correctly. Good housekeeping reduces slips, prevents dirt entering hydraulic systems and makes defects easier to see.
Manufacturer authority: Use the current carrier and attachment manuals, approved fitment charts and service limits as the final source for ratings, settings, inspection criteria and operating procedures.
Get More Expert Guides & Updates
Subscribe for Machinery.org guide updates and product learning content.