
Chapter objective: A hydraulic breaker converts hydraulic energy into repeated impact at the tool. Correct selection balances carrier size, breaker mass, impact energy, blow frequency, hydraulic requirements and the material to be broken. A breaker that is too small may run continuously without productive fracture. A breaker that is too large can overload the boom, arm, coupler, carrier structure and hydraulic system. The wrong combination increases vibration, heat, tool wear and...
Why breaker sizing matters
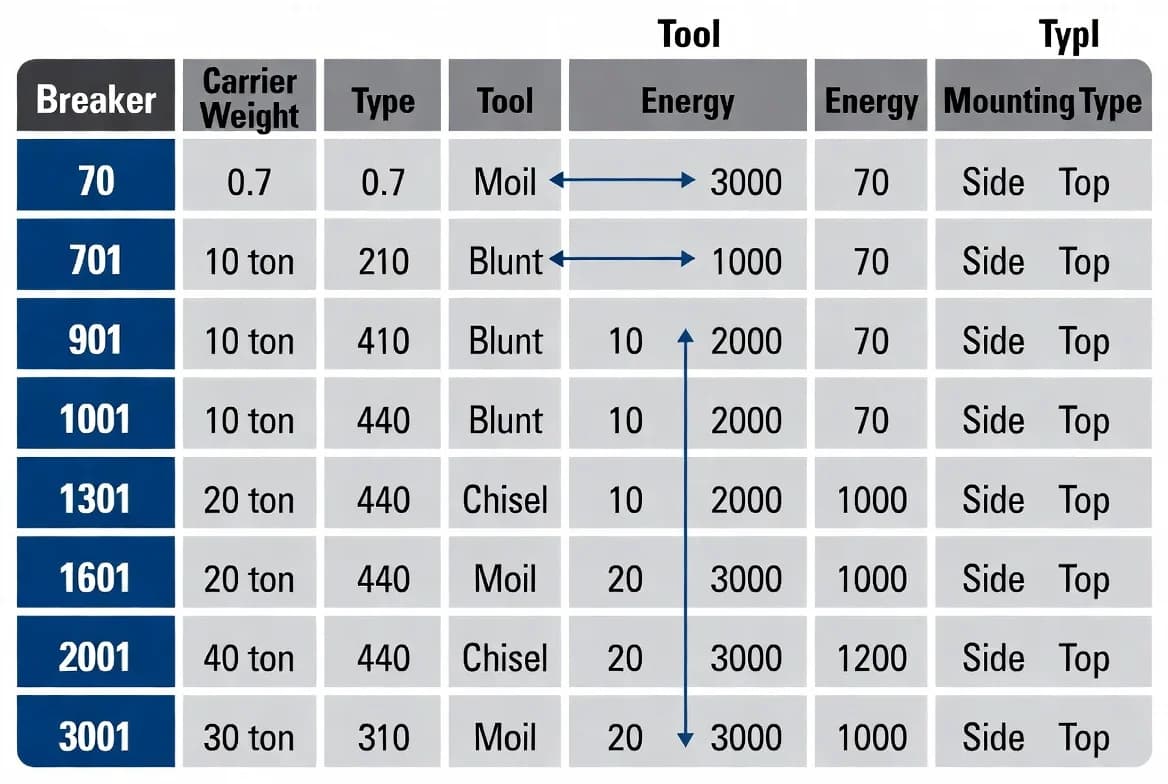
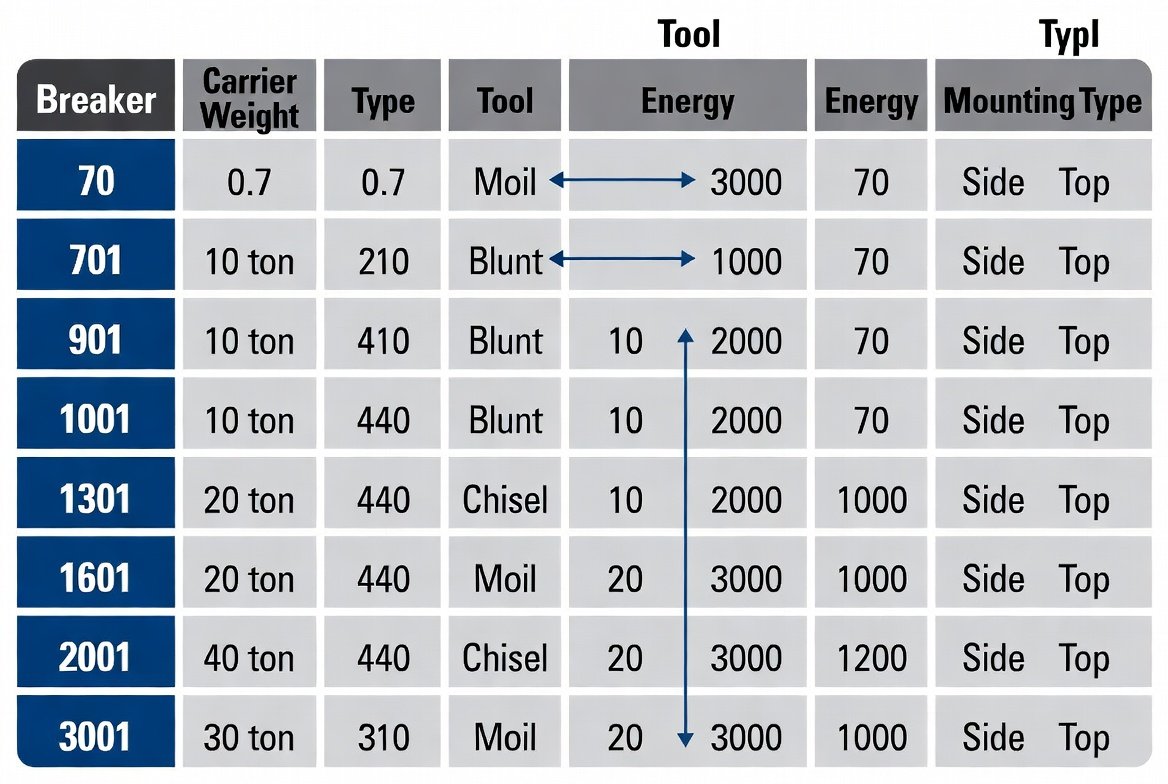
A hydraulic breaker converts hydraulic energy into repeated impact at the tool. Correct selection balances carrier size, breaker mass, impact energy, blow frequency, hydraulic requirements and the material to be broken. A breaker that is too small may run continuously without productive fracture. A breaker that is too large can overload the boom, arm, coupler, carrier structure and hydraulic system. The wrong combination increases vibration, heat, tool wear and fatigue.
Carrier operating weight is a common starting point, but it is not the only criterion. Boom configuration, lifting capability, hydraulic circuit, counterweight, stability, coupler and working position all matter. Use the breaker and carrier manufacturer's approved pairing or selection chart whenever available.
Material and production objective
Define whether the work involves concrete, reinforced concrete, asphalt, trench rock, boulders, quarry rock, frozen ground or secondary breaking. Consider material hardness, thickness, natural fractures and reinforcement. The objective may be controlled demolition, trench production, oversize reduction or removal around sensitive structures.
Higher impact energy is useful for hard, massive material, while higher blow frequency can be effective in thinner or more fractured material. Production is not achieved by holding the tool in one place indefinitely. The breaker should create cracks and the operator should reposition to use those cracks. Match the breaker to the material and the work method rather than choosing only the largest available unit.
Carrier weight and structural compatibility
The breaker, mounting bracket, coupler and hoses add significant weight at the end of the boom or lift arms. Confirm the carrier can safely lift, control and travel with the combination. For excavators, check stability over the front and side and consider the effect of an extended arm. For skid steers and compact loaders, use the approved breaker size and keep within rated capacity.
Impact loads travel through pins, bushes, linkage and structure. Inspect these components and maintain correct clearances. Avoid using a breaker on a carrier with unresolved cracks or excessive pin wear. If the front of the carrier bounces severely, the breaker may be poorly matched or the operator may be applying incorrect downforce.
Hydraulic flow, pressure and return
Compare the breaker's required flow range and operating pressure with the carrier's auxiliary circuit. The machine should be set within the approved range, often using a dedicated breaker mode. Excessive flow can overspeed the piston and cause damage. Insufficient flow lowers blow frequency and production. Excessive back pressure reduces efficiency and can damage seals.
Many breakers require a low-restriction return. Some systems need an accumulator or specific control valve. Confirm hose and coupler size, relief setting and return configuration. Measure actual flow and pressure if performance is uncertain. Keep hydraulic oil clean; breaker operation creates severe impulse loading and contamination risk.
Tool selection
Common tools include moil points, chisels, blunt tools and specialised compacting or cutting tools. A moil point concentrates force and is useful for general breaking and starting cracks. A chisel directs force along an edge and can be effective for trenching or controlled splitting. A blunt tool transfers broader impact for boulders and heavily fractured material.
Use only approved tools of the correct diameter and length. Keep the tool properly lubricated with the specified grease. Inspect for mushrooming, cracks, overheating and excessive wear. Do not weld or regrind a tool unless the manufacturer provides an approved process. A broken tool can eject fragments and damage the breaker.
Mounting and hose arrangement
The mounting bracket must match the carrier coupler and breaker body. Confirm pins, bolts, side plates and isolators. Hoses should be correctly sized, protected and routed with enough movement for the full working range. They must not rub on the boom, become tight during curl or contact hot surfaces. Secure couplers and keep them clean during connection.
Check the breaker orientation and any top-mount or side-mount restrictions. Some configurations improve visibility or allow work in confined areas but change the load path. Include the coupler and adapter in the total mass and inspect locks before every shift.
Operating technique for efficient breaking
Place the tool squarely on the surface and apply enough downforce to keep contact without lifting the carrier excessively. Start the breaker and stop when the material fractures. Reposition rather than hammering continuously in one hole. Avoid blank firing, where the piston strikes without the tool loaded. Blank firing accelerates wear and can damage internal components.
Do not use the tool as a pry bar, lifting point or lever. Avoid striking at extreme boom reach or sideways. Work from edges and natural fractures where possible. In reinforced concrete, expose and manage reinforcement according to the demolition plan. Maintain exclusion zones for flying debris and use screens or water suppression where required.
Heat, lubrication and routine care
Breakers generate heat and require frequent lubrication. Grease intervals depend on the model and duty. Apply the specified grease with the tool positioned as instructed so grease reaches the bushes rather than entering the impact chamber incorrectly. Automatic lubrication systems must be filled and inspected.
Monitor hydraulic temperature, hose condition, nitrogen or accumulator condition where applicable, fasteners, tie rods, tool retainers and bush wear. Check the carrier's oil and filters at the severe-duty interval. Stop for leakage, abnormal sound, reduced impact or visible movement between components.
Troubleshooting and selection review
Low production can result from an undersized breaker, wrong tool, poor technique, low flow, excessive back pressure, weak carrier pump, worn internal parts or material that requires a different method. Excessive vibration may indicate poor contact, oversized breaker, worn mounts or incorrect downforce. Overheating points to hydraulic mismatch, continuous relief or inadequate cooling.
Review the whole system before replacing the breaker. Compare measured hydraulic values, inspect tool and bushes, confirm material conditions and observe technique. A properly selected breaker should fracture material efficiently without causing persistent instability or hydraulic alarms.
Key takeaways
Select a breaker by approved carrier range, total mounted weight, hydraulic flow and pressure, return requirements, impact characteristics, tool and material. Correct technique—square contact, controlled downforce, repositioning and avoiding blank firing—is essential. Maintain lubrication, pins, bushes, hoses and carrier oil. Do not use a breaker as a pry or lifting tool. Manufacturer pairing charts and service instructions remain authoritative.
Sensitive structures and vibration control
Breaking near occupied buildings, buried services, fresh concrete, retaining walls or precision equipment requires a specific plan. Select impact energy and work sequence to control vibration and fragment size. Work from free edges and use shorter bursts. Where required, monitor vibration and inspect nearby structures before and after work. A smaller breaker may reduce peak impact but can increase total exposure if it must operate much longer, so selection should consider the complete method.
Start-up, warm-up and cold conditions
Hydraulic oil and breaker components should reach the condition specified by the manufacturer before full production. Cold oil increases pressure loss and can damage seals. Warm the carrier and operate the breaker lightly at first where instructed. In very cold conditions, keep the tool and bushes lubricated with the approved product and inspect for brittle hoses or frozen debris. Do not begin continuous hammering immediately after start-up.
Dust, noise and flying material
Breaker work can create respirable dust, extreme noise and high-velocity fragments. Use water suppression, extraction or other controls appropriate to the material. Establish an exclusion zone and protect nearby glazing, traffic and workers with screens where needed. Operators and ground personnel require suitable hearing, eye, face and respiratory protection. Do not break unknown material until asbestos, pressurised services and other hazards have been assessed.
Carrier undercarriage and positioning
Stable positioning improves impact transfer. Keep tracks or tyres on firm support and avoid working with the carrier perched on loose rubble. Excavator tracks should be oriented according to the manufacturer and lifting or stability guidance. Do not use the breaker to pull the machine or push large blocks sideways. Reposition frequently so the tool remains square and the boom is not held at an extreme angle.
Tool retention and bush management
Tool retainers and bushes carry severe cyclic loads. Inspect retainers for deformation and replace them at limits. Measure lower and upper bush wear; excessive clearance allows the tool to strike off-centre and damages the piston. Rotate or replace tools only as permitted. Keep the tool clean during changes and prevent dirt from entering the front head. A properly maintained tool system improves impact transfer and reduces breakage.
Production and cost review
Evaluate breaker performance by material broken per hour, fuel use, tool and bush life, downtime and carrier wear. Continuous hammering is not proof of productivity. Record where the breaker stalls, overheats or requires repeated repositioning. This information helps determine whether the breaker is undersized, the tool is wrong or another method such as sawing, ripping or controlled blasting is more economical and safer.
Work sequencing and material removal
Breaker production depends on removing fractured material so the tool can reach fresh faces. Coordinate the breaker with excavators, loaders or manual clean-up without placing people inside the impact zone. Break from an exposed edge toward the centre and maintain a safe bench or working platform. Do not undermine the carrier or leave unsupported slabs where they can fall unpredictably. A planned sequence reduces rebreaking, limits tool trapping and makes it easier to control fragments and reinforcement.
Post-work inspection
After the shift, inspect the tool, retainers, bushes, bracket, hoses and carrier linkage while defects are fresh and visible. Check for leakage, loose fasteners, cracked paint around welds and unusual metal debris. Clean the breaker before storage and protect the tool from corrosion. Record operating hours and any overheating or blank-firing events so maintenance can be scheduled before the next assignment.
Manufacturer authority: Use the current carrier and attachment manuals, approved fitment charts and service limits as the final source for ratings, settings, inspection criteria and operating procedures.
Get More Expert Guides & Updates
Subscribe for Machinery.org guide updates and product learning content.